
Chimney Flashing Repair Guide for Leaks
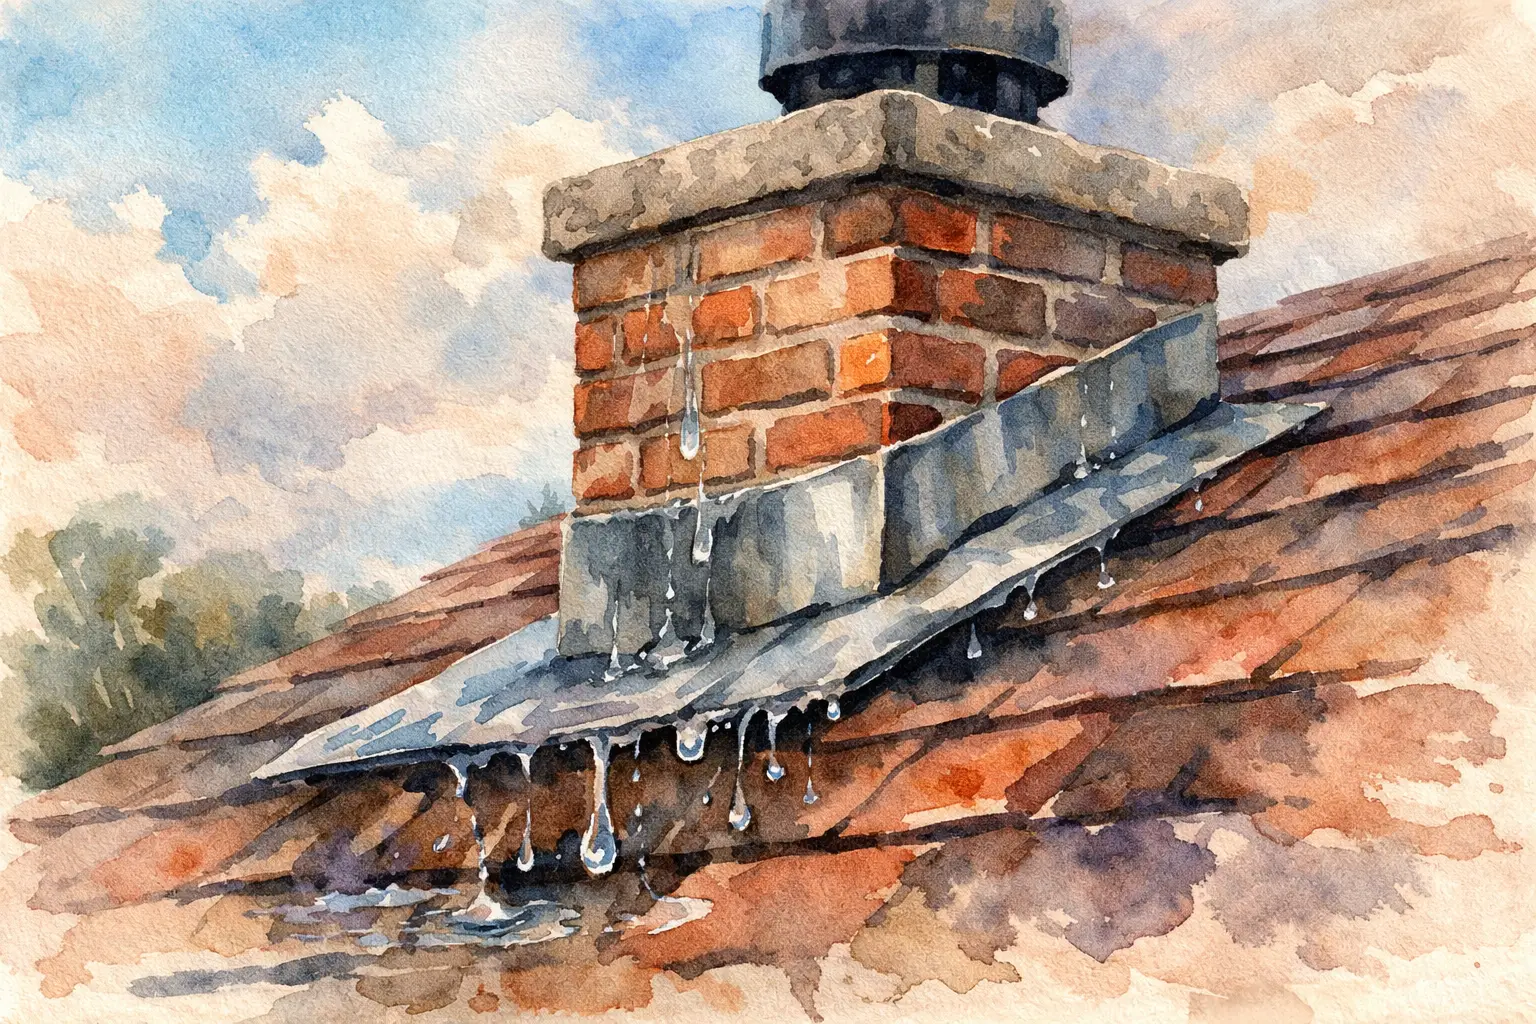
A damp patch near the chimney breast after heavy rain is rarely a problem to leave for later. In many cases, the fault sits where the chimney meets the roof, and this chimney flashing repair guide explains what property owners need to know before a small leak turns into rotten timbers, damaged plaster, and a much bigger roofing bill.
What chimney flashing actually does
Chimney flashing is the weatherproof barrier that seals the joint between the chimney stack and the roof covering. Because a chimney breaks through the slope of the roof, rainwater naturally gathers and runs around that area. Flashing is there to direct water away safely and stop it working into the roof structure.
On many properties across Glasgow and Central Scotland, flashing is formed in lead. That is usually the right material for longevity, but like any part of a roof, it can fail with age, poor installation, storm movement, or general wear. The joint may look minor from ground level, but it protects one of the most vulnerable parts of the roofline.
Chimney flashing repair guide – the common signs of failure
Most chimney flashing problems start quietly. You may not see water pouring in, but the warning signs are usually there if you know where to look.
A common sign is staining on ceilings or walls near the chimney breast, especially after prolonged rain or wind-driven weather. You might also notice damp smells in the loft, bubbling paint, discoloured plaster, or water marks in the upstairs rooms closest to the chimney.
Outside, visible gaps in the flashing, lifted lead, cracked mortar around the chase, or slipped slates and tiles beside the chimney can all point to failure. In some cases, the issue is not the lead itself but the surrounding materials. A repair needs to deal with the real cause, not just the symptom.
That matters because chimney leaks are often misdiagnosed. What appears to be a flashing problem can sometimes involve defective pointing, porous masonry, damaged flaunching, or deterioration in adjacent roof coverings. Equally, what looks like a chimney masonry issue may simply be failed flashing letting water in behind the stack.
Why chimney flashing fails
There is rarely one single cause. More often, flashing fails because several small issues build up over time.
Age is one factor. Lead expands and contracts with temperature changes, and over many years that movement can weaken fixings or open joints. Mortar can crack, particularly on older properties exposed to repeated wet and cold conditions.
Installation quality is another major factor. Flashing that has been cut too short, fixed poorly, chased incorrectly into brickwork, or sealed with the wrong materials will not last as it should. Temporary patch repairs are especially common. A bead of mastic may hold for a while, but it is not a substitute for properly dressed and secured flashing.
Weather exposure also plays a part. In exposed parts of Scotland, wind-driven rain can test every weak point around a chimney. If the roof is ageing generally, the area around the stack often starts to show defects first.
Repair or replacement – what is the right approach?
This depends on the condition of the flashing and the surrounding roof area. A localised repair can be sensible if the lead is largely sound and the fault is limited to a small split, lifted section, or cracked mortar joint. In those cases, a roofer may be able to resecure the flashing, renew the chase pointing, or replace a damaged section without disturbing the full detail.
If the flashing has been patched repeatedly, is poorly formed, or has failed in several places, full replacement is usually the better long-term option. It costs more upfront, but it is often the more economical choice once you consider the risk of further water ingress and repeat call-outs.
There are also situations where the flashing itself is not the only problem. If slates, tiles, sarking, battens, or chimney masonry have been damaged by ongoing leaks, the repair scope needs to widen. A dependable roofer will tell you that clearly rather than applying a quick surface fix.
What a proper chimney flashing repair should include
A professional repair starts with inspection, not guesswork. The roofer should check the lead condition, the mortar chase, the brickwork, the apron flashing at the front of the stack, the step flashing at the sides, and the back gutter or soakers where relevant. They should also inspect the surrounding roof covering because leaks can track before they appear inside.
For a standard repair, the work may involve removing failed mortar, dressing the lead back into position, replacing damaged lead sections, and repointing the chase with suitable materials. If the flashing layout is poor, the repair may involve stripping back slates or tiles around the chimney and rebuilding the full detail correctly.
On older roofs, especially traditional slate roofs, experience matters. The work needs to be done without causing unnecessary damage to surrounding materials. That is why chimney flashing is not a good area for rushed repairs or unqualified patching.
Chimney flashing repair guide – when not to attempt a DIY fix
Property owners often search for a chimney flashing repair guide because they want to understand the issue before calling anyone out. That is sensible. Attempting the repair yourself is different.
Working around a chimney means working at height, often on pitched roofs and in poor weather conditions. Even a seemingly small defect can involve lifting slates, reshaping lead, or cutting into mortar joints. Without the right access equipment and roofing experience, it is easy to make the leak worse or create a safety risk.
DIY sealants are also commonly overused. They may appear to stop water temporarily, but they can trap moisture, fail quickly, and hide defects that continue to damage the roof structure underneath. If the roof is already leaking internally, it is usually time for a proper inspection rather than another tube of sealant.
How much does chimney flashing repair cost?
Costs vary because no two chimney details are exactly the same. The size of the chimney, the roof pitch, the access requirements, the material condition, and whether scaffolding is needed all affect price.
A straightforward minor repair will cost less than a full lead flashing replacement, but access often influences the figure as much as the repair itself. If the chimney is high, difficult to reach, or on a larger commercial roof, the cost can increase accordingly.
The cheapest quote is not always the best value. If one contractor prices for a quick patch and another prices for a proper lead repair with all failed mortar renewed, the figures will be different for a reason. What matters is understanding exactly what is included and whether the repair is built to last.
Why fast action saves money
A chimney flashing leak rarely stays neatly contained. Water entering around the stack can soak battens, felt or membrane, insulation, ceiling finishes, and adjacent timbers. Left long enough, it can contribute to timber decay and more extensive internal repairs.
That is why early diagnosis matters. A small flashing defect caught quickly may be a straightforward repair. The same defect ignored over months of bad weather can become a wider roofing and building issue. For landlords and commercial property operators, delay can also mean tenant complaints, interior disruption, and avoidable maintenance costs.
Choosing the right roofer for chimney flashing work
This is specialist repair work, not general handyperson work. Look for a contractor with proven roofing experience, solid local reputation, and a clear approach to inspections and quotations. You want someone who will identify whether the issue is flashing, chimney masonry, or a related roof defect.
It also helps to choose a firm that can deal with any wider problems uncovered during the inspection. If damaged pointing, slipped slates, leadwork, or roofline issues are contributing to the leak, having one experienced contractor manage the repair is usually simpler and more reliable.
For property owners across Glasgow and surrounding areas, that practical approach matters. First Roofing & Building regularly deals with chimney leaks, lead flashing failures, and older roof details where experience on traditional and modern roofing systems makes a real difference.
What to do if you suspect a chimney flashing leak
If you have noticed damp marks, drips, or visible defects around the chimney, take clear photos from inside if it is safe to do so and note when the leak appears. Often the timing helps identify whether the problem is linked to heavy rain, wind direction, or ongoing saturation.
Then arrange a professional roof inspection promptly. A good inspection should tell you whether a targeted repair is enough or whether the chimney detail needs more extensive work. Either way, clarity early on is far better than waiting for the next storm to make the decision for you.
A sound roof depends on the details being right, and chimney flashing is one detail that should never be left to chance. If there is any doubt, get it checked properly and deal with it before a manageable repair becomes a much larger job.